The following sections detail how to install ForecastX™.
Note: After downloading the setup file, please extract it from the zip folder before executing it. You will need to be an administrator on the computer to install the software.
Installing ForecastX
- Check to make sure you have an Internet connection that is working, and that your excel and forecastx both match x32 bit or x64 bit version each.
- Before installing ForecastX, close all open instances of Microsoft Excel.
- Go to your C drive and double-click setup.exe to begin the process.
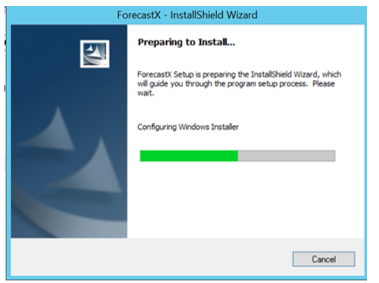
- The following Install dialogue box appears.
- After all prerequisites are installed, the Welcome screen appears. Click Next.

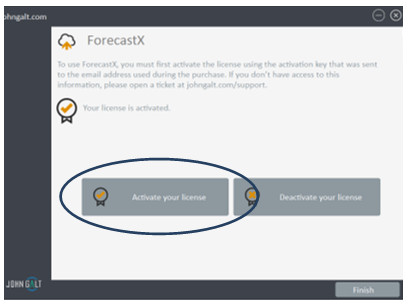
- The Licensing window appears which contains the contact information you need to get a license for your software. Click Activate your license. Note: For the student version their license expires after 150 days.
-
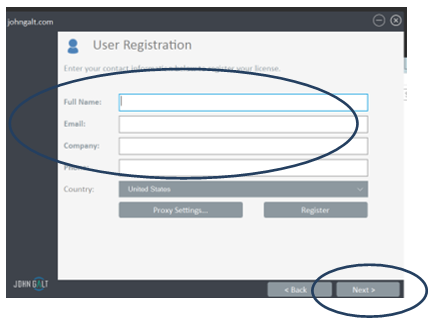
The Customer Information section appears. For students enter your name, and email address, and the activation key is automatically done, then click Next.
-
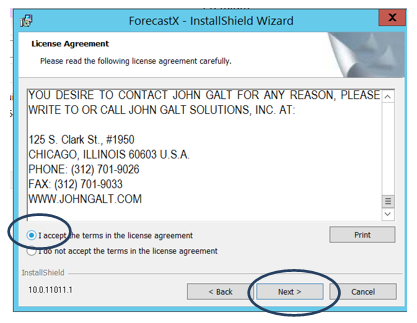
The License Agreement window appears. Enable the I accept the terms of the license agreement radio button and then click Next.
-
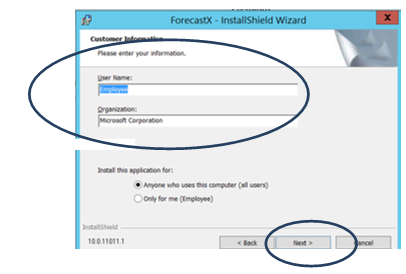
The Customer Information appears. Enter your username and the name of your company. Select whether you would like anyone using the computer to use the application or just you, and then click Next.
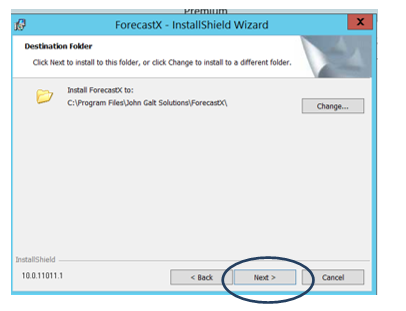
- The Destination Folder window appears. By default, the application installs itself in the directory shown above. To choose a different location, click Change and select a different location. Then click Next.
- Click Install to begin the installation.
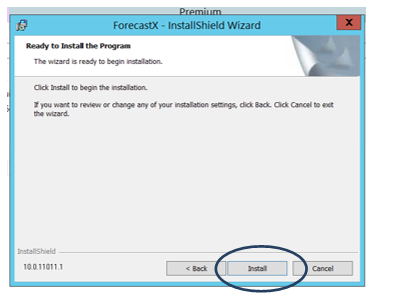
- The install will take a few moments to complete. Once the installation is completed, click Finish.

Comments
0 comments
Please sign in to leave a comment.