Applies To
Windows Operating System
- Windows 10
- Windows 7
Microsoft Office System
- Office 365
- Office 2016
- Office 2013
Symptom
The ForecastX toolbar is not displaying in Excel after installing the application. After installing the ForecastX Wizard, the add-in toolbar should automatically display in Excel.
Solution
The ForecastX toolbar Excel add-in needs to be loaded.
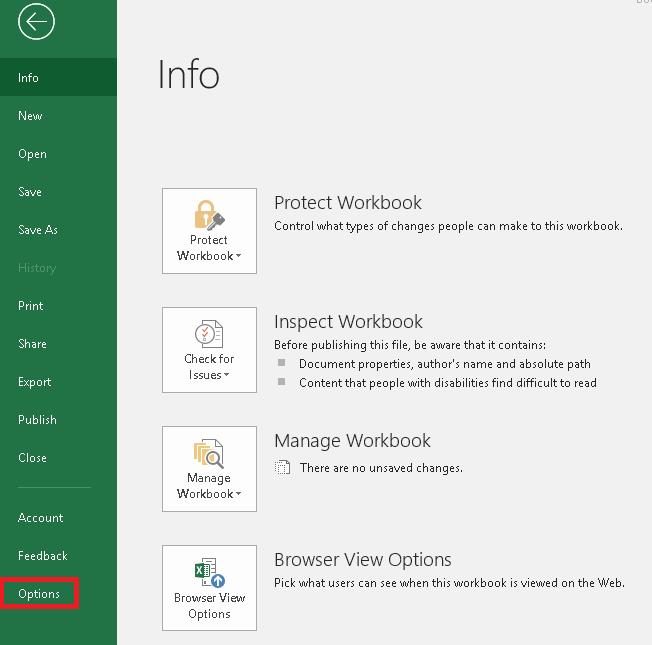
- Go to File > Options.
- In Excel Options, click Add-ins.
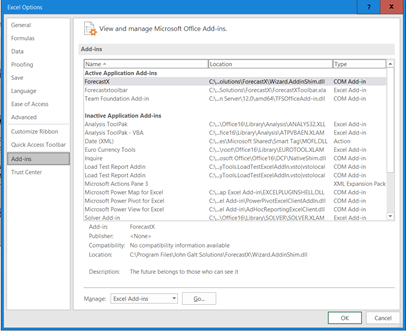
- Under the Add-ins menu, look for the Manage Selector, select COM Add-ins and click Go.

- In the Excel Add-ins window, click Browse to search for the add-in file:
- For 32bit Excel, browse to C:\Program Files (x86)\John Galt Solutions\ForecastX, select ForecastXToolbar.xla and click OK.
- For 64bit Excel, browse to C:\Program Files\John Galt Solutions\ForecastX, select ForecastXToolbar.xla and click OK.
Note: The ForecastX is installed by default in the paths listed above. If this is not the path used to install the application the ForecastX Toolbar.xla file will be located under the directory used when the application was installed.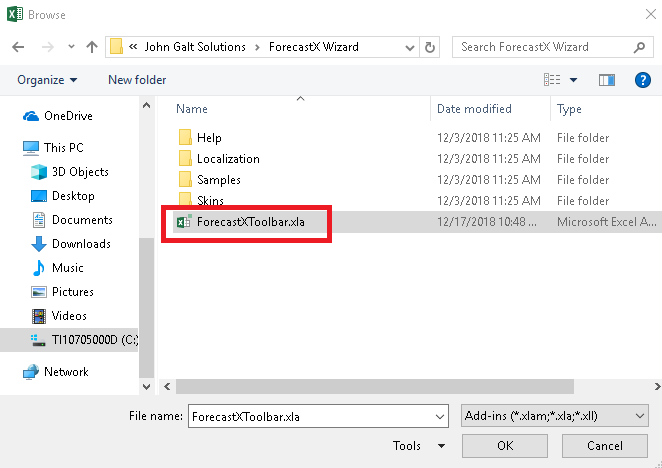
- The ForecastX entry is added to the Add-Ins list and is selected. Click OK to accept your changes.
- Close and open Excel to confirm that the toolbar is displaying properly.
Comments
0 comments
Please sign in to leave a comment.